How to configure NBN FTTP Connection.
What is FTTP?
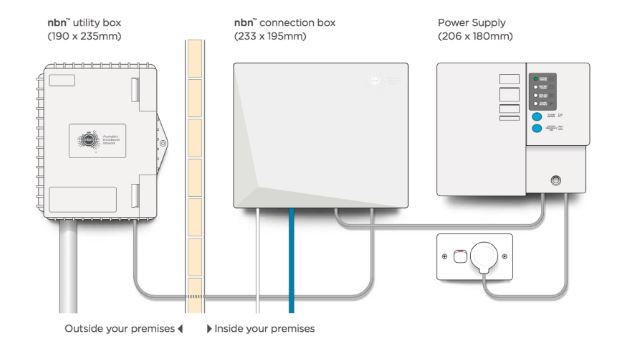
A Fibre-to-the-Premises connection involves fiber optic cables being responsible for data transfer at every point through the nbn™ network. The fiber cable is connected directly to a utility box on the outside of a premises, which in turn is connected to an nbn™ connection box inside the same premises. All of this hardware is supplied by nbn, and must be installed by an approved nbn™ installer.
Check the equipment required?
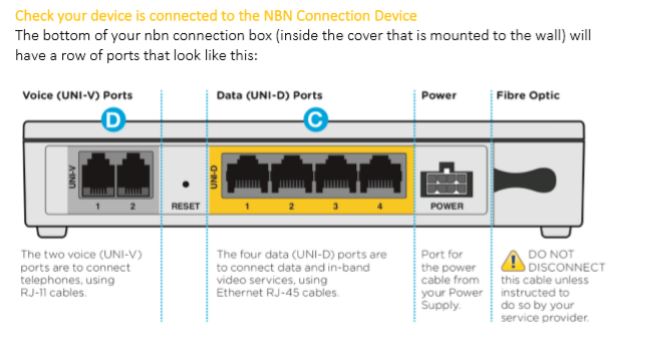
- The services will be delivered through the data (UNI-D) (C) ports on the nbn connection box. At the time of service completion, the carrier will advise you which data (UNI-D) ports that have been designated for your services for example UNI-D1, UNI-D2 etc.
- Take your Ethernet cable (this is typically blue, yellow or grey but other colors are possible) and plug one end into the active UNI-D port on your NBN Connection Box.
- In most cases, the active port will be UNI-D 1 as shown below. If a different UNI-D port was activated when your NBN equipment was installed, please use that one instead.
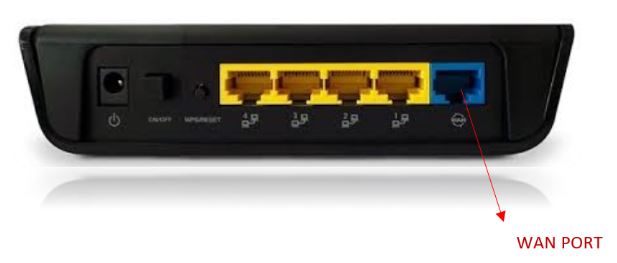
- Plug the other end of the Ethernet cable into the router's WAN port - most routers have 4 Ethernet ports for LAN and then one Ethernet WAN port that is colored differently (example below). If you're uncertain which port to use, check the manufacturer's website for support information.
PPPoE configuration in TP-LINK then please follow the steps below:
- Connect an Ethernet cable from to LAN 1 port from the wireless router to the device i.e. laptop in most cases.
- Browse to 192.168.1.1
- Enter admin for the username and password
- Click the Quick Setup link.
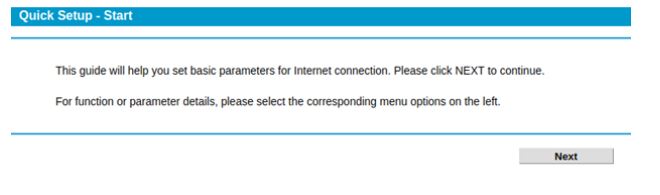
5.Click Next
6. Select No. I want to configure The Internet Connection myself. Then click Next
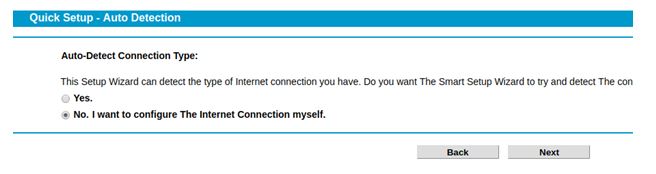
7.Click Next
- Set the following
- Set ISP to Other
- L2 Interface Type to VDSL
- Enable VLAN ID – unchecked or check as per carrier advise
- Connection Type to PPPoE
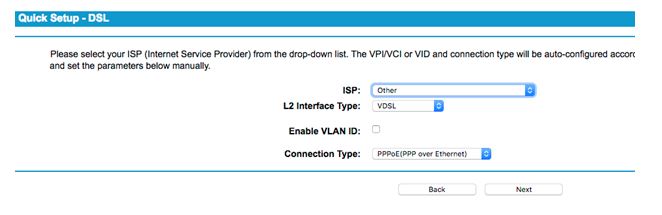
e.Click Next
- Enter PPP Details
- Set the username to be your PPPoE username, normally it is shahid@wirefreebroadband.com.au
- Set the password to be your passwordL2qanf&^%123
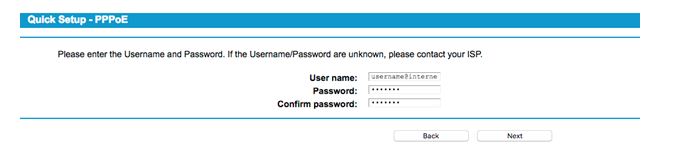
- Click Next
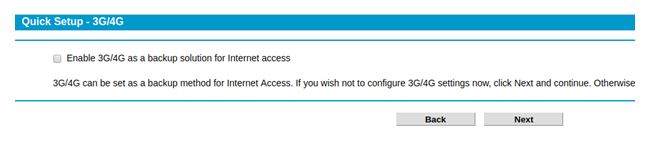
- Click Next leaving Enable 3G/4G unchecked
- Configure Wireless network
- Set Wireless – Enabled
- Wireless network name – Leave default or change to your own name
- Channel – Auto
- Mode – 11bgn mixed
- Securty WPA/WPA2
- Password – Your Wireless password, it is recommended you make it random don’t use Password or 12345678
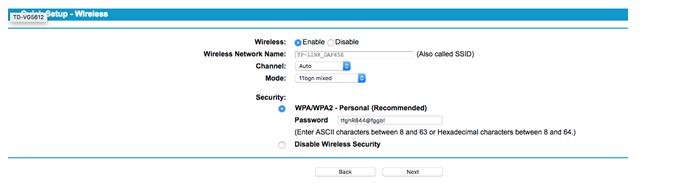
- Click Next
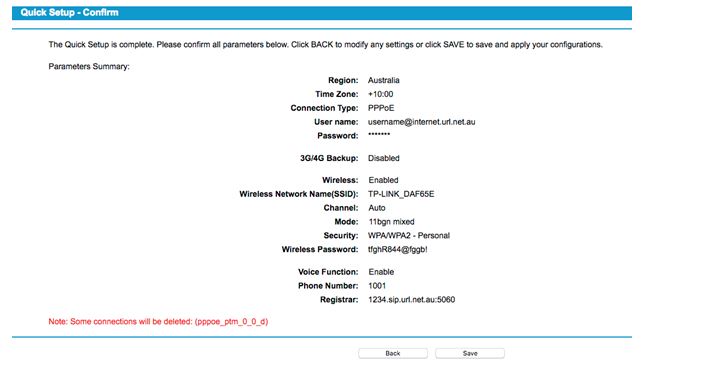
- Click Save to apply the changes
- If successful you should see success, click Finish. You should now connect your PPPoE router to Lan 1, Lan 2 or Lan 3
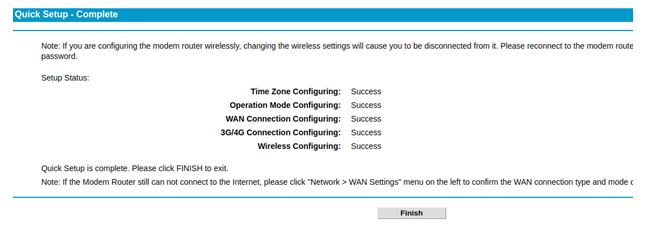
Click on finish
