What is HFC NBN Connection?
NBN Cable (also known as HFC – Hybrid Fiber Coaxial)
nbn Cable is used where existing ‘pay TV’ or cable networks are suitable to bridge the gap between the nearest nbn fiber node and the premises.
An nbn Cable, or nbn HFC, connection starts with a fiber cable that runs to a node in your neighborhood. Once at the node,
nbn HFC uses the existing cables to make a connection to your home.

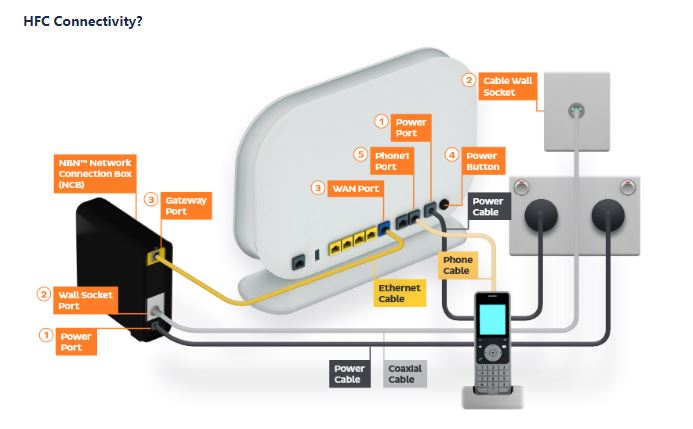
HFC Connectivity?
Check your device is connected to the NBN Connection Device
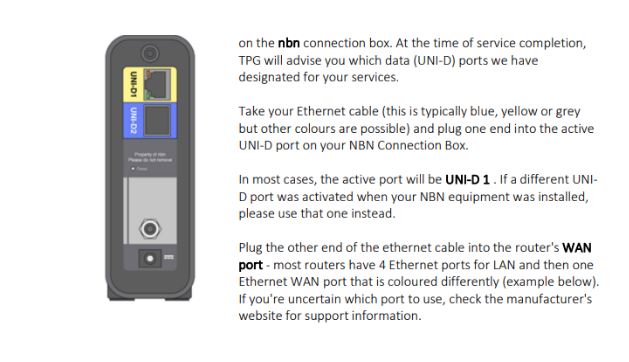
The top of your nbn connection box will have a row of ports that look like this:
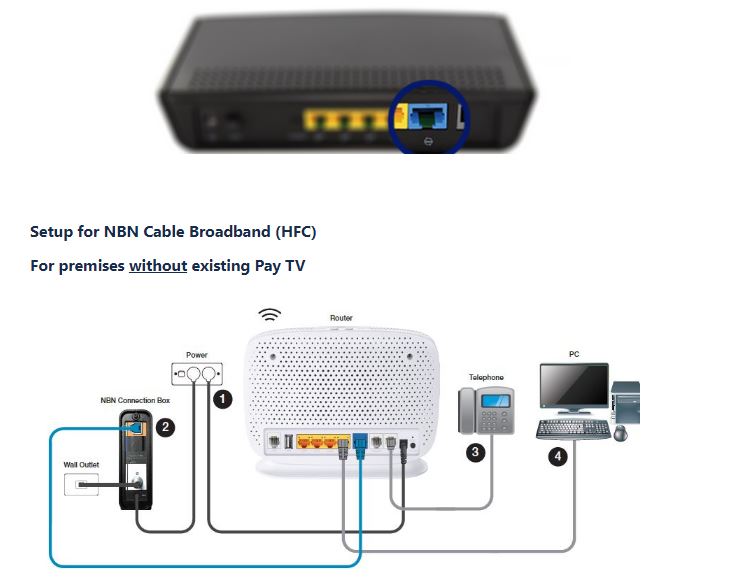
1. Connect the Power port on the back of your modem to your power socket
2. Connect the UNI-D1 on the back of the NBN Connection Box to the blue WAN port on the back of the modem
3. Connect your telephone handset to the Phone1 port on the back of your modem
4. Connect your computer to any of the 4 LAN ports on the back of your modem
For premises with existing Pay TV

1. Connect the UNI-D1 port on the back of the NBN Connection Box to the blue WAN port on the back of the modem
2. Connect the coaxial connector on the back of the NBN Connection Box to the end of the splitter marked "OUT"
2A. Connect the end of splitter marked "IN" to the cable wall outlet
2B. Connect the other end of splitter marked "OUT"
3. Connect the Power port on the back of your modem to your power socket
4. Connect your telephone handset to the Phone1 port on the back of your modem
5. Connect your computer to any of the 4 LAN ports on the back of your modem
Quick Installation Guide for PPPoE configuration:---
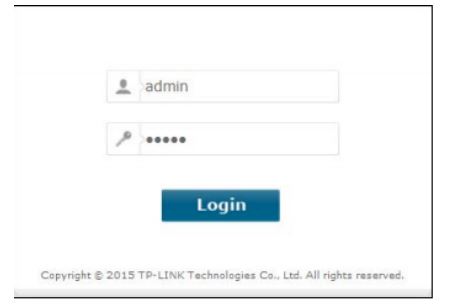
1. To access the configuration utility, open a web-browser and type the default address
http://tplinkmodem.net/ or 192.168.1.1 in the address field of the browser

After a moment, a login window will appear, Enter admin for theUser Name and Password,
both in lower case letters. Then click the Login button or press the Enter key
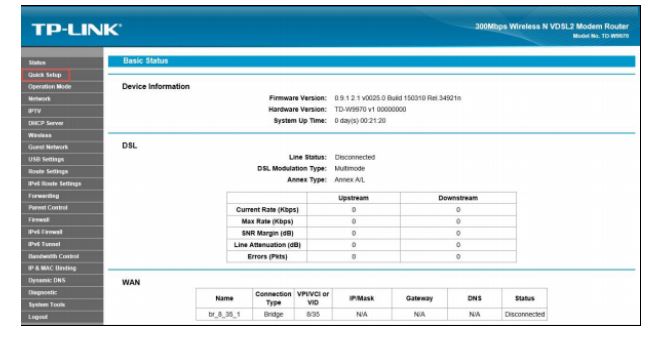
2. After your successful login, you will see the Login screen as shown in Figure 3-5. Click Quick
Setup menu to access Quick Setup Wizard and then click Next.
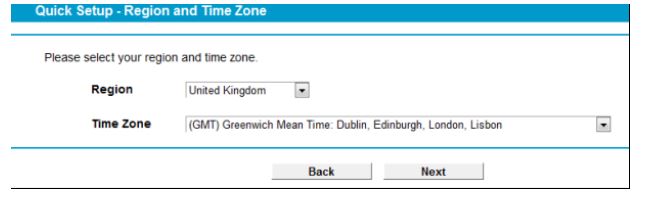
3. Select your Region and Time Zone from the drop-down list, then click Next.
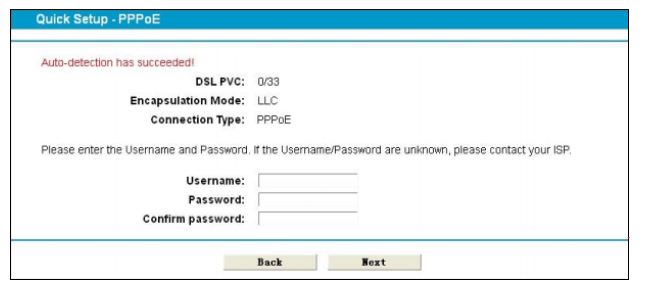
4. Select “Yes” to auto detect your connection type and then click Next. It will take about two
minutes, please wait.

5. Configure parameters for WAN connection. Here we take PPPoE as an example. Enter the
username and password provided by your ISP. Click Next.
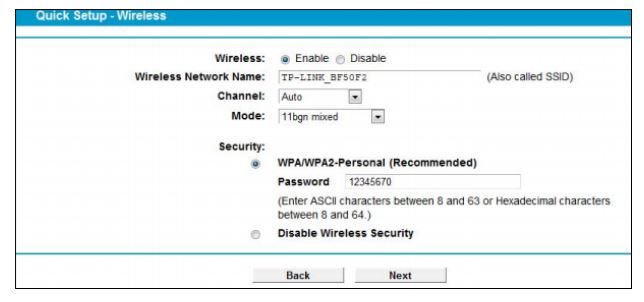
6. The wireless function is enabled by default. You can rename your wireless network name and
create your own password in this page. The default wireless name is TP-LINK_XXXXXX.
Click Next to continue.
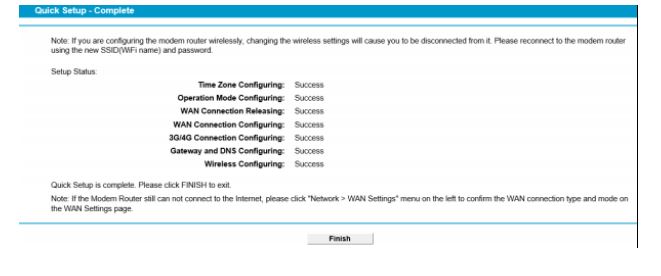
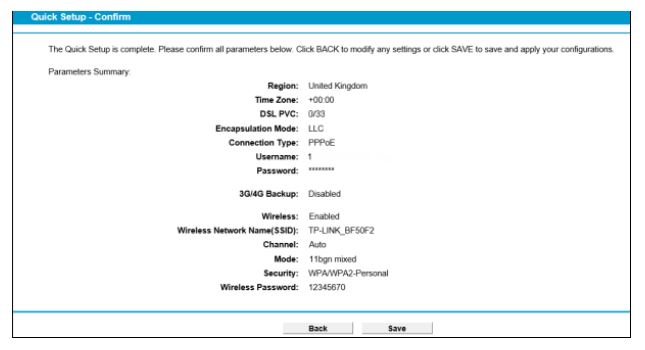
7. On this page, please confirm all parameters. Click Back to modify or click the Save button to
save your configuration.
9. You will see the Complete screen below, click Finish to complete these settings.