How to Install new NBN connection FTTC
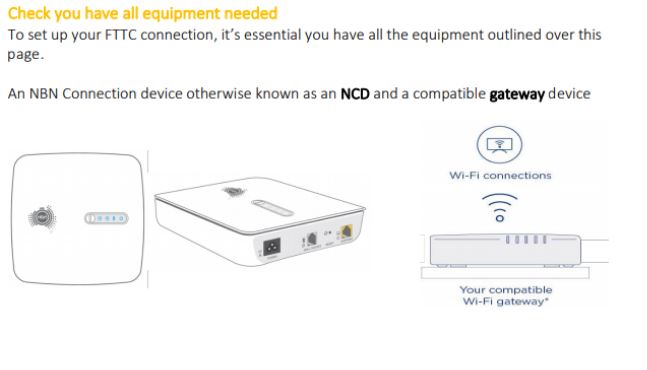
What is FTTC?
Fibre-to-the-Curb (FTTC) is a access technology that will form part of the nbn broadband
access network rollout starting from 2018. An nbn FTTC connection is used in circumstances
where fibre is extended closer to the end user’s premises than fibre-to-the-node (FTTN),
connecting to a small Distribution Point Unit (DPU), generally located inside a pit on the
street. From here, the existing copper network is connected to the fibre to form the final nbn
network connection.
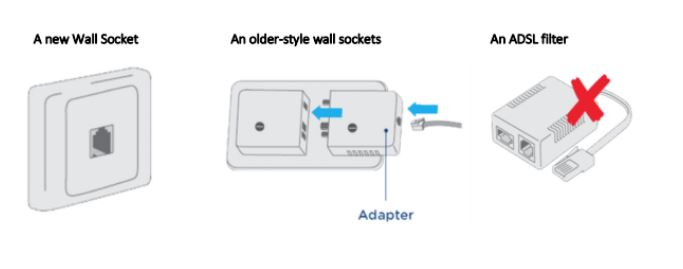
Find the right telephone wall socket:-
Your telephone wall socket is the first point where your FTTC connection enters your home,
so finding the right one is vital.
It could look like either of the illustrations below, and is most likely the socket that currently
connects to your phone or internet service.

PPPoE configuration in TP-LINK then please follow the steps below:
- Connect to LAN 1
- Browse to 192.168.1.1
- Enter admin for the username and password
- Click the Quick Setup link
- Click Next

- Click Next

- Select No. I want to configure The Internet Connection myself. Then click Next

- Set the following
- Set ISP to Other
- L2 Interface Type to VDSL
- Enable VLAN ID – unchecked or check as per carrier advise
- Connection Type to PPPoE
- Click Next

- Enter PPP Details
- Set the username to be your PPPoE username, normally it is shahid@wirefreebroadband.com.au
- Set the password to be your password L2qanf&^%123
- Click Next

- Click Next leaving Enable 3G/4G unchecked

- Configure Wireless network
- Set Wireless – Enabled
- Wireless network name – Leave default or change to your own name
- Channel – Auto
- Mode – 11bgn mixed
- Securty WPA/WPA2
- Password – Your Wireless password, it is recommended you make it random don’t use Password or 12345678
- Click Next

- Click Save to apply the changes

- If successful you should see success, click Finish. You should now connect your PPPoE router to Lan 1, Lan 2 or Lan 3

- Click on finish
